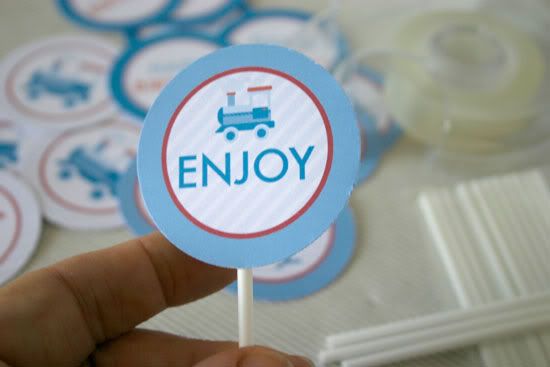
The whole printables/print-it-yourself concept of invitations and paper goods, while becoming quite the staple at parties on the Northern side of the globe, is just starting to pick up and take off here in Australia! (We do set trends in other areas though I must say!) Some of the feedback I get from customers or friends is: "I could never do a party like that", "that must take you ages", "cost so much" or something to that effect. So I wanted to start doing some 'Back to Basics' blog posts, that show just how easy a few bits of designed paper can be pulled together to make a party look themed and fun. Today's post is a little 'How-To' on the Party Dot aka Cupcake Topper...
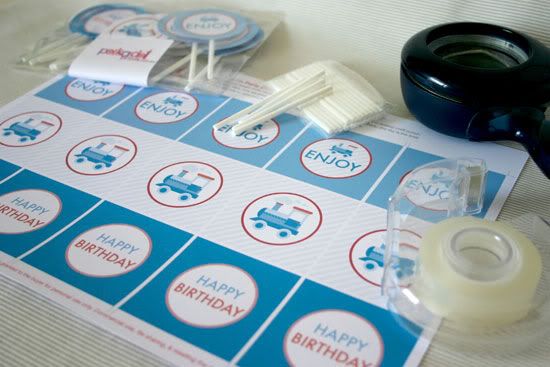
Start with your personalised party dot design of choice from my store (of course!!). Print onto heavy weight paper or cardstock - even standard paper would work fine.
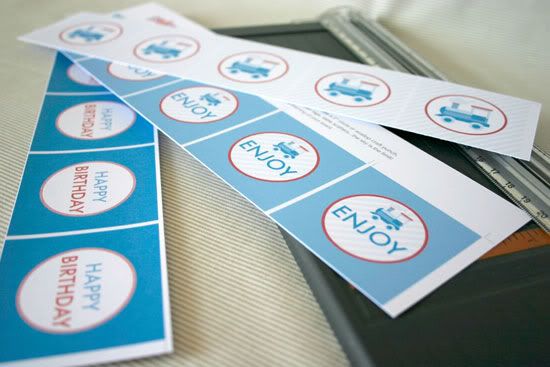
Trim full sheet into strips, following the marks on the page. You can trim them to the squares in the design or for the dot part you can punch out the circles.
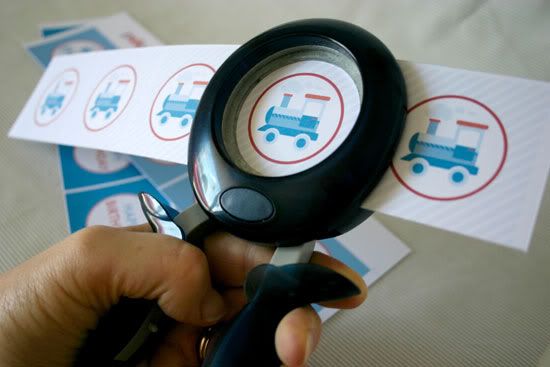
I use a Fiskars 2" circle squeeze punch to cut the circles. They also have a scalloped 2" punch that suits a lot of designs. Totally up to you. I like this punch because it's designed like a skillet so you can line up the design perfectly centred without having to turn it over - very clever!
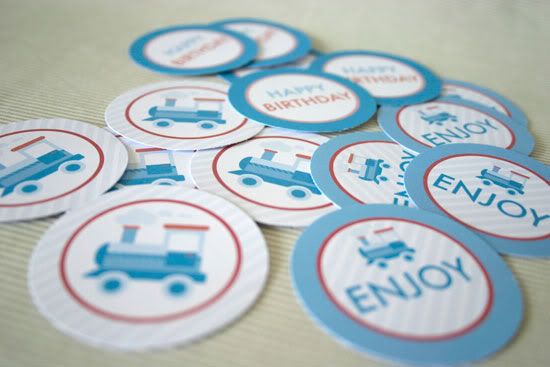
You will have a pile in no time! (You can also use a circle template cutter like this one, or a digital cutter if you have it - but this really is a 'back to basics' and really the punch does a fantastic job!)
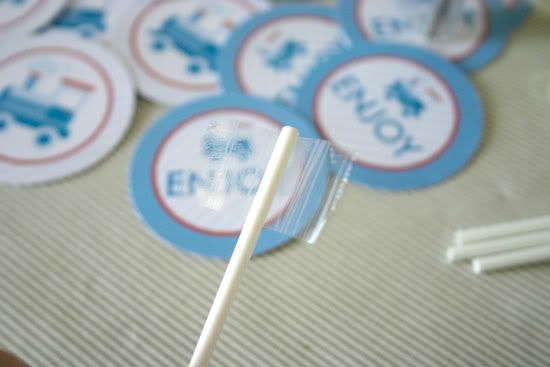

Next, grab a bunch of 7cm lollipop sticks (available through me or cooking/craft store). Put some tape on one end. I find it easier to do this sticky side up, so I can place a dot on top and make sure I have it centred. (I just do use my eye on this).
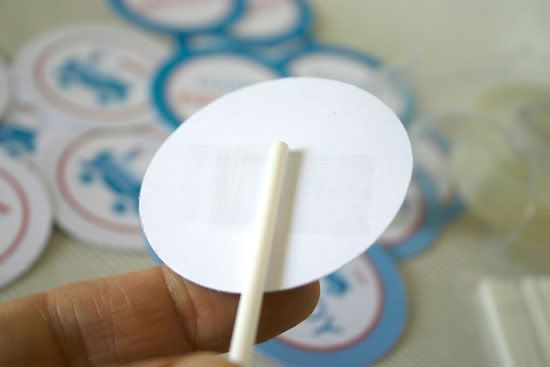
I then turn over and make sure it's then stuck down well on either side of the stick.
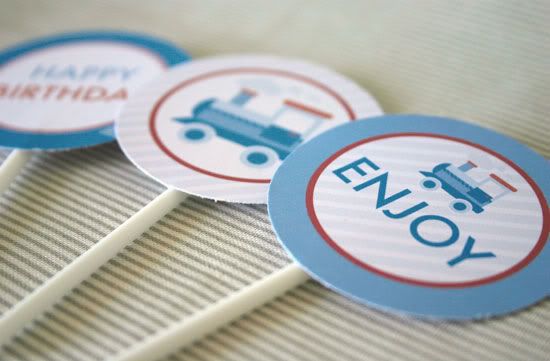
And there you have it...all your dots ready to get decorating! I know cupcakes are the traditional, but really they can be used for so many things!
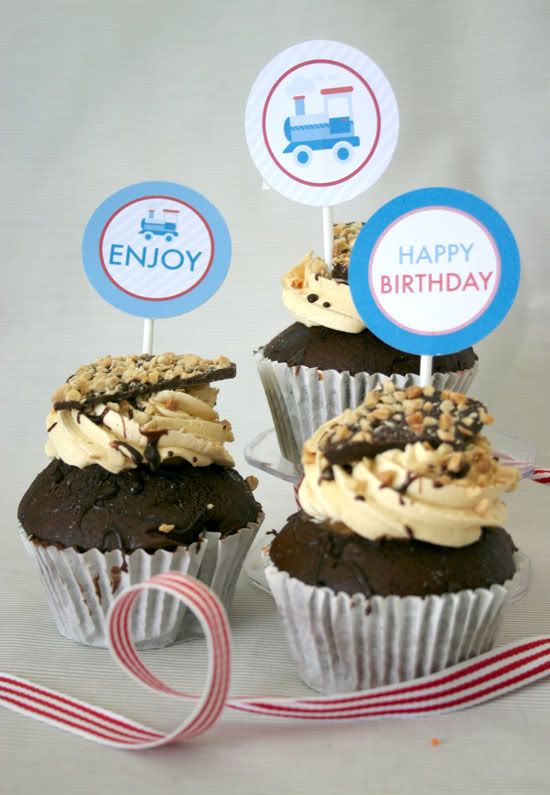
For some of you, this may be a little bit too basic, but hey, as the old saying goes...even if it helps one person it's worth it! :) If you have any questions, I'll answer them in the comments section. Feel free to ask on any other party topic too - it may generate it's own little 'how-to'!
And stay tuned this week as the Christmas spirit starts to flow!!
Party dots and paper goods can be found in my store

It's really simple!! And looks great! That's how I do mine!
ReplyDeleteWorth doing! thanks for sharing
ReplyDeleteBrilliant! Thank you sooo much!
ReplyDeleteThank you very much for the post you do.
ReplyDeleteThanks For Sharing Such An Excellent Post Enjoyed Reading it.
ReplyDelete