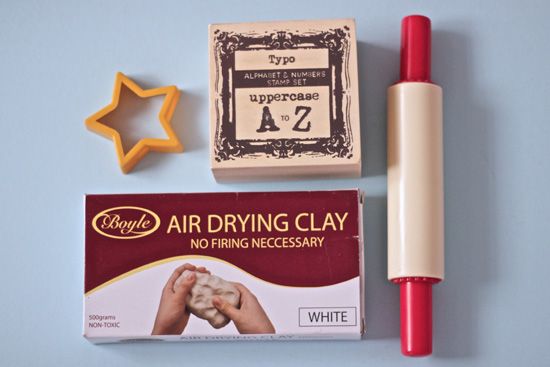
Materials you'll need:
1:: Air Drying clay - I bought this at Bunnings for under $10 and I made over 20 stars with some leftover
2:: Alphabet Stamps
3:: Star Cookie Cutter
4:: Rolling Pin (I raided the playdough box for this mini one)
5:: Skewar or pencil for making a hole in the top
6:: Ribbon or twine for attaching
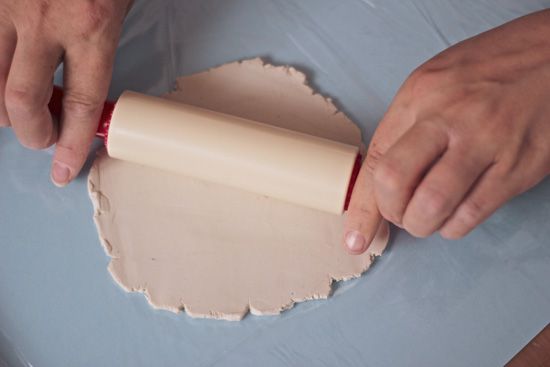
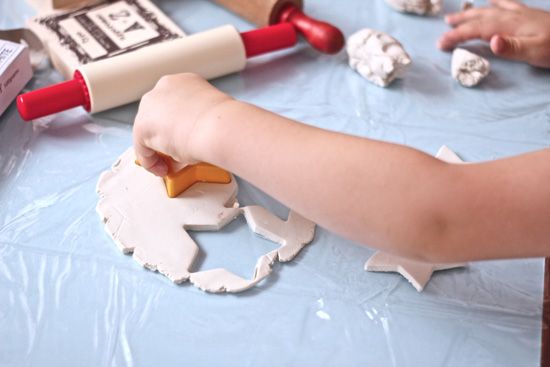
Roll dough out till about 5mm thick and use the cookie cutter to cut out your stars. (Enlist "help" as required.) You may need to really knead your dough to get it soft and not crumble.

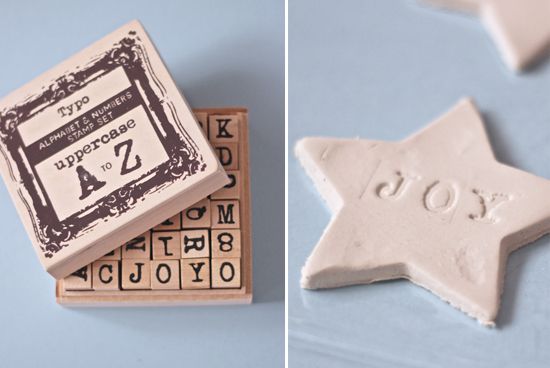
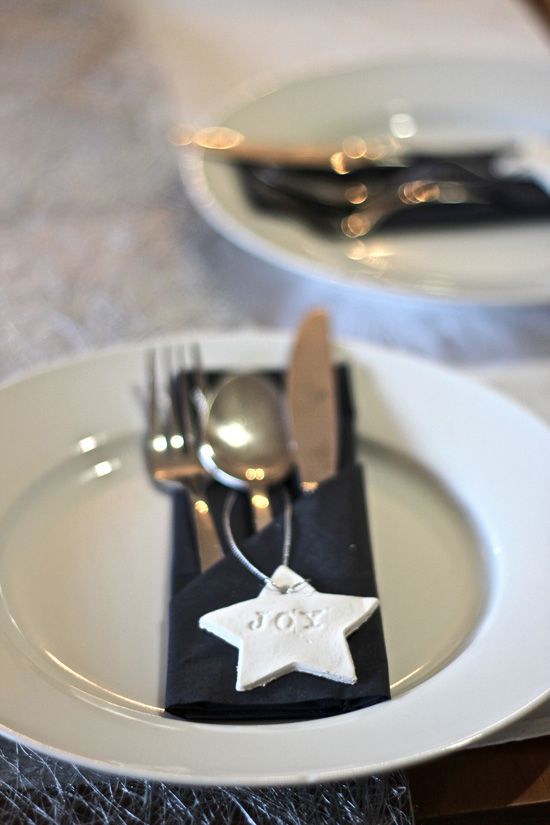
Using the stamps, press your word or name gently into each shape. You could put ink on the stamps if you wanted a colour, but I want to be able to use these again with a different coloured ribbon, so didn't want to be locked into one colour scheme. I used the words 'Joy', 'Love', 'Hope' & 'Peace' and made kind of a set.
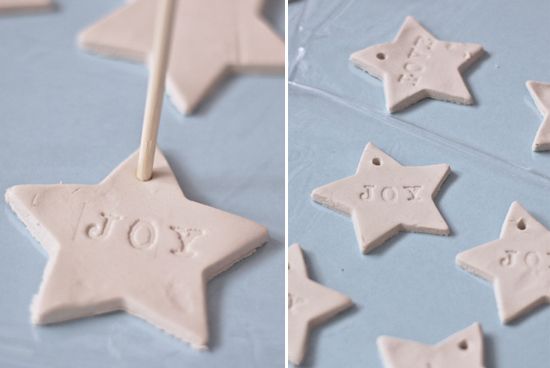
Using a wooden skewar or pencil etc, make a hole for the ribbon in the top of each star making sure you've gone right though to the back.
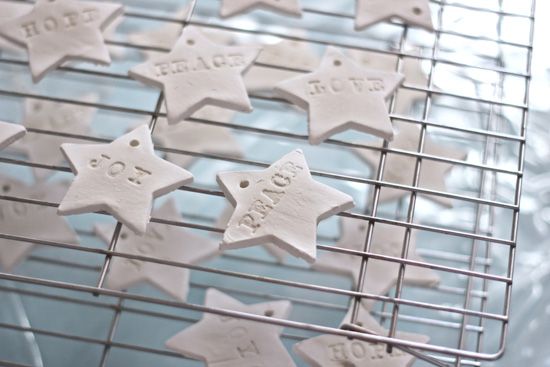
Let them dry. Ours took overnight to dry completely and I had to turn them a couple of times to make sure they dried flat and not curl up at the edges.
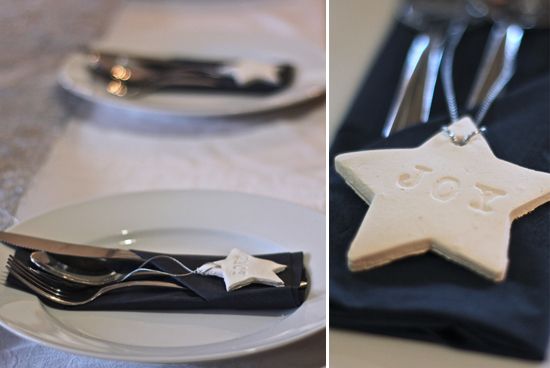
If I'd thought about it earlier, I think these would make a great Christmas gift idea. Packaged up in a cute box. Or even an everyday set with words like 'Eat', 'Drink', 'Party', etc could be great for your hostess friends! Hmmm....guess what people are getting next year?! :)

Those are so cute!! And you could use those as present tags too!!
ReplyDeleteOh great idea for a gift tag...I like your thinking Lisa! : )
ReplyDeleteIt's been a while since I want to make these for Christmas. To decorate my tree, to give as a gift, as napkin holders, and I always forget. Your look great! Definitely making them next year! Happy New Year 2012!
ReplyDeleteGreat Post….. I read a few of your other posts.
ReplyDeleteThanks for sharing…
ReplyDeleteYou shared very nice and detail information with us .This article contain very useful things for us I am very excited bout this one it is so nice and very useful to us.Thank you for this information .I expect this kind of important information in future also so keep it up this nice work.
ReplyDelete